Recording a Twitch stream means saving your live broadcasts for later viewing. When you stream on Twitch, you share live video content with an audience. However, once the stream is over, it can be helpful to have a recording of it. This allows your viewers to watch the stream again and lets you keep a record of your content. Furthermore, recording can be done using built-in Twitch features or third-party software. Also, it's useful for creating highlights, sharing on other platforms, or just keeping for personal use. By recording your Twitch streams, you can reach a wider audience, even those who missed the live broadcast. In fact, it's a simple process that can help grow your channel and engage more viewers. Moreover, this post provides a detailed guide on how to record Twitch stream with various tools.
| Solutions | Brief Information |
|---|---|
| All About Twitch Built-in Recording | Some information about Twitch built-in recording called VOD Learn More |
| Alternative Screen Recorders to Capture Twitch Stream | Four third-party software that can be an alternative screen recorders for Twitch Learn More |
| Frequently Asked Questions | FAQs that are usually asked about Twitch Learn More |
| Conclusion | Summary of the whole article Learn More |
All About Twitch Built-in Recording
Twitch has a built-in recording feature called VOD (Video On Demand). This feature automatically saves your live broadcasts, making them available for viewers to watch later. Once you finish streaming, the entire broadcast will be saved on your Twitch channel for a limited time. Here's how it works:
Enabling VODs: To save your streams, you must turn on VODs in your Twitch settings. Go to the Creator Dashboard and navigate to the "Settings" menu. From there, click the "Stream" option and turn on the option to "Store past broadcasts."
Storage Duration: Depending on your subscription, Twitch offers two types of storage duration. For regular users, Twitch saves VODs for 14 days. If you're a Twitch Partner, Turbo user, or Prime member, your VODs are stored for 60 days.
Accessing VODs: Viewers can find your saved broadcasts on your channel page under the "Videos" section. They can watch, pause, and replay these videos anytime within the storage period.
Creating Highlights: Did you know you can make highlights from your VODs? Highlights are specific parts of your stream that you want to save permanently. Unlike VODs, highlights do not expire and can be viewed anytime.
Sharing VODs: You can also share your VODs on other platforms or download them for personal use. This helps in reaching a broader audience beyond Twitch.
Quality Settings and Options: Twitch offers a range of streaming quality options, from 720P to 1080P. It has also implemented bitrate limits that allow streamers to broadcast at up to 6,000 kbps.
Twitch's VOD feature is a convenient way to record live Twitch stream and keep your content available. It lets viewers catch up on missed streams and enhances your channel's engagement.
Alternative Screen Recorders to Capture Twitch Stream
1. Aqua Demo
Are you looking for the best Twitch video recorder? Aqua Demo is one of the most reliable and powerful screen recorders that can record Bigo Live or Twitch streams in high resolution. You can enjoy clear visuals and audio in various qualities, such as 720P, 1080P, and 4K. Additionally, this tool supports multiple media formats, including MP4, WMV, AVI, and more. Also, it allows you to customize the recording settings from the recording area to the output settings. Besides, you are free to choose from full screen, specific window, and selected potion recording area you desire. Likewise, Aqua Demo provides you with additional features to enhance your screen capture experience. These are on-screen annotations, screenshot capture, task scheduler, and mouse-and-click effects.
Step 1. Download and Install Twitch Recorder
First, click the download button above and choose among the two buttons depending on your operating system. After downloading, go to your files and open the downloaded file. Then, follow the setup wizard on your screen to install the Aqua Demo. Once you are done installing, the tool's interface will appear on your screen automatically.
Step 2. Modify Recording Settings
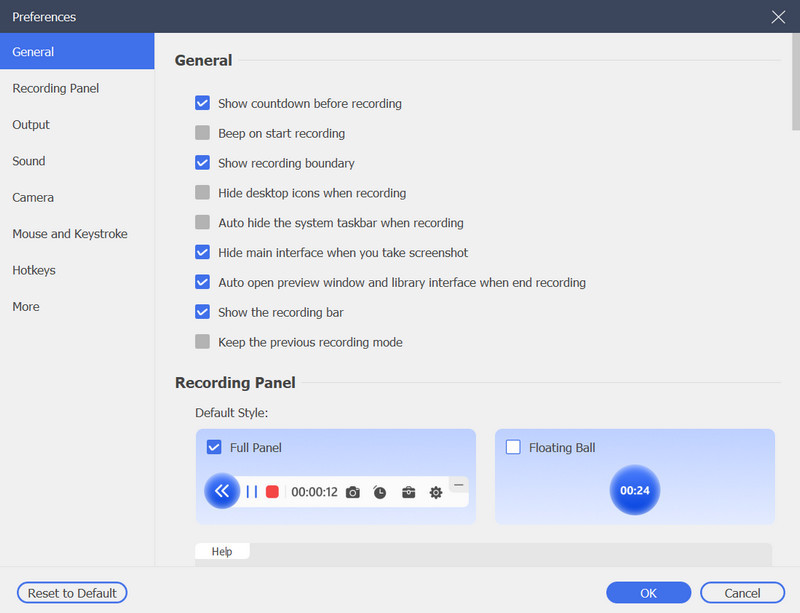
On the tool's interface, navigate to Settings and click the drop-down button. Then, select Record Settings from the menu to appear in the settings tab. From there, you can modify the recording settings up to the output settings depending on your desire. After that, click the Save button to save the changes.
Step 3. Record Stream on Twitch
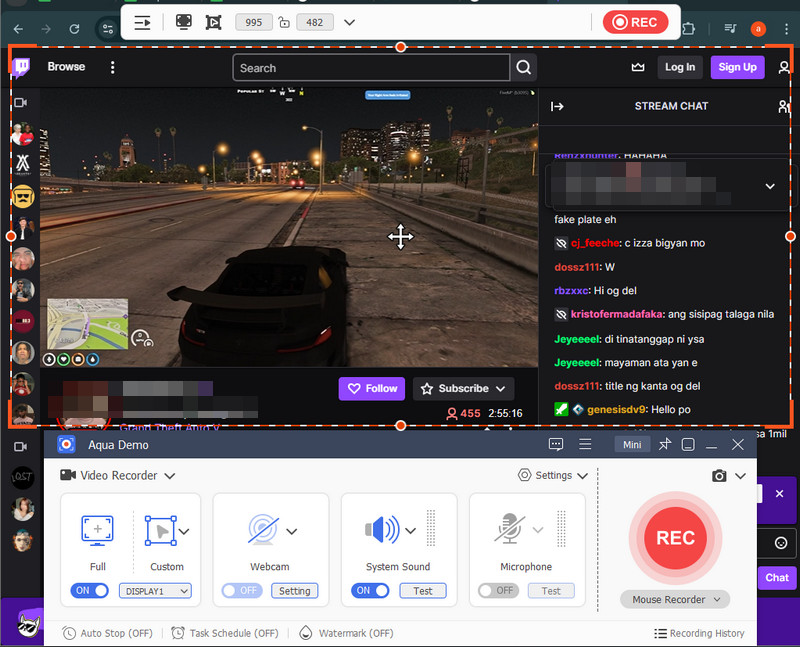
After modifying the settings, search the Twitch platform for a stream you want to capture. Next, set up a recording area that suits the stream's screen. Then, ensure that the system audio is enabled to record the sound on the stream video. Once everything is set up, click the REC option, and the recording will initiate after a 3-second countdown.
Step 4. Preview and Edit the Recorded Stream
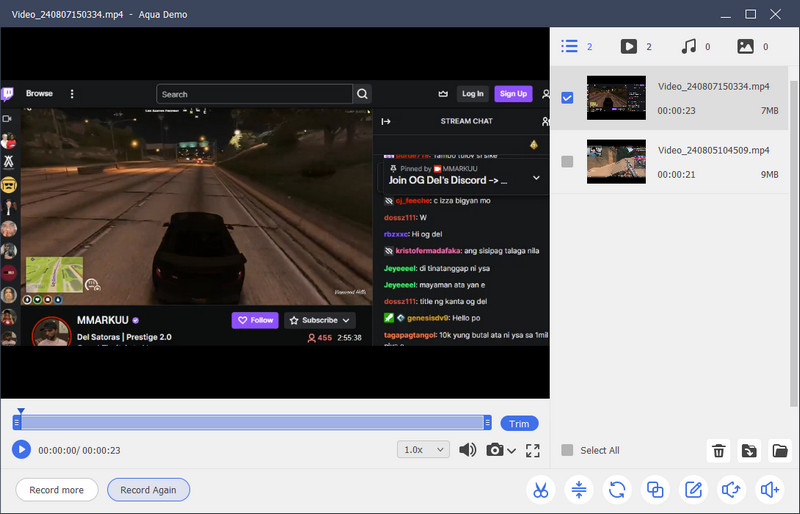
Once the stream ends, click the small red box icon representing the stop option. Another window will pop out on your screen, along with a recorded stream on Twitch. From the preview panel, you can trim the unnecessary ending and starting clips. After that, tap the folder icon beside the video thumbnail to locate the captured stream since the tool automatically saves it.
2. OBS Studio
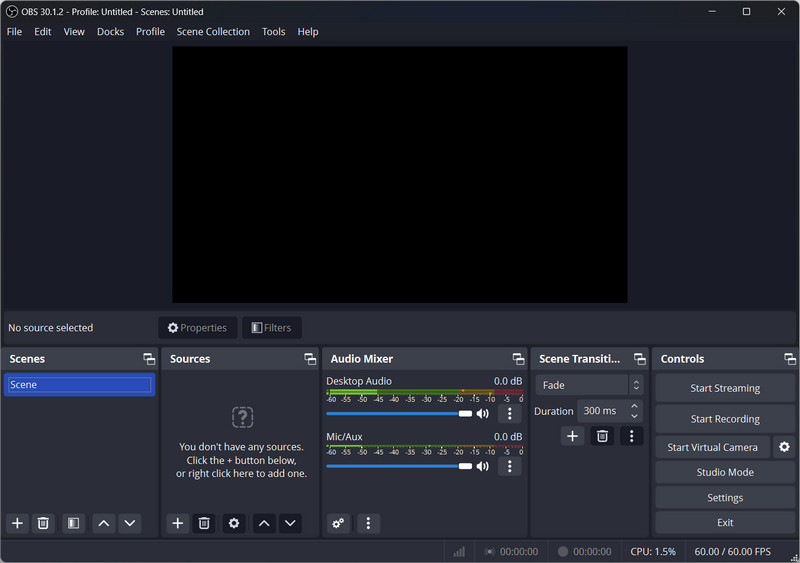
OBS Studio is a free and open-source screen recorder that allows you to record from Twitch, YouTube, Facebook Live, or other video live-streaming platforms. It offers many powerful features that many content creators consider their top choice, as it is one of the best software for streaming and recording. One of the key features of this recorder is that you can adjust the resolution, frame rate, and bitrate to achieve the desired video quality. Also, OBS supports recording in high-definition (HD) and even 4K resolution. Furthermore, this tool lets you create scenes in multiple sources with smooth transitions between them. Moreover, it includes a built-in audio mixer with per-source filters such as noise gates, noise suppression, and gain. This ensures high-quality audio recording. Beyond recording, OBS Studio also provides options for live streaming, which makes it a comprehensive solution for content creators.
Best quality live streams on Twitch
For the best quality live streams on Twitch, we recommend the following settings:
Framerate: 60fps or 50fps
Keyframe interval: 2 seconds
Preset: Quality
B-frames: 2
These settings work best with the 1080p resolution and 60fps.
3. VLC Media Player
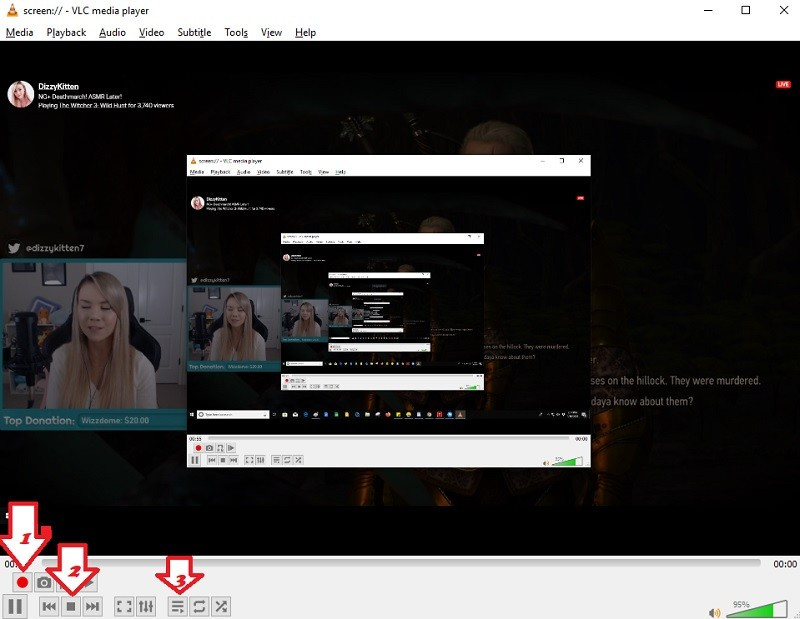
Did you know that VLC Media Player can be your Twitch video capture recorder besides being a media player? VLC Media Player is a versatile, open-source player offering basic recording features. While not as advanced as specialized recording software like OBS Studio, VLC's recording capabilities are useful for simple tasks. Additionally, this tool lets you choose from different recording options, including recording the entire screen, a specific window, or just the audio. Furthermore, VLC can record audio from other sources, such as your microphone or system sound. This can be set up through the "Open Capture Device" menu by selecting the appropriate audio input. Moreover, one of its standout recording features is the ability to record video from DVDs and Blu-rays.
4. Bandicam
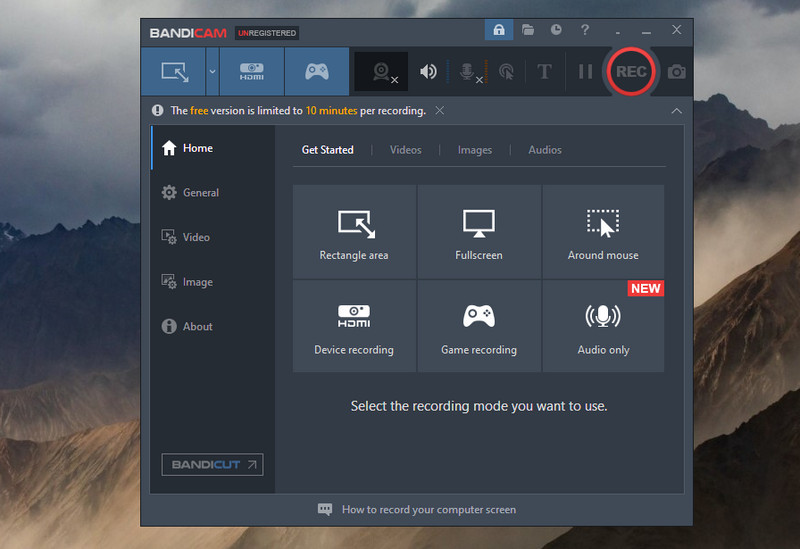
Bandicam is a versatile and powerful recording tool suitable for various applications. It offers high performance, advanced features, and ease of use, from gaming and tutorials to professional presentations and webinars. One of the advantages of this tool is that it has a game mode that can record DirectX/OpenGL/Vulkan games in high quality up to 4K Ultra HD. Likewise, it captures the gameplay with a minimal impact on performance. Aside from that, this recorder displays the frame rate (FPS) during recording, helping gamers monitor performance. Furthermore, Bandicam can record system audio and microphone input simultaneously or separately. Moreover, this screen recorder with drawing tools and annotations, allows you to highlight specific areas, add text, and customize the output.
| Third-party Software | Pros | Cons |
|---|---|---|
| Aqua Demo | No watermark on recordings. | It lacks advanced options for more complex video editing. |
| OBS Studio | Excellent for both live streaming and high-quality recording. | It may be complex for beginners to set up and use effectively. |
| VLC Media Player | No cost and generally low impact on system performance. | Limited recording functionality since it's focused on being a media player. |
| Bandicam | Capable of recording high-definition videos with minimal impact on system performance. | The free version has a watermark on recordings. |
Frequently Asked Questions
Where are Twitch recordings?
Twitch recordings are stored on your channel under the "Videos" section. You can access them from your channel page to watch or manage past broadcasts.

Does Twitch record gameplay?
Yes, Twitch records gameplay through its VOD (Video On Demand) feature. When you stream your gameplay, Twitch saves the broadcast so viewers can watch it later.

Does Twitch have limitations when using its built-in recorder?
Yes, two limitations to Twitch's VOD feature need to be addressed. First, Twitch compresses VODs, which can affect the video quality. Second, at certain times, the streaming platform mutes parts of the VODs, making the highlights less accessible.

Conclusion
Recording your Twitch stream is a great way to save your live broadcasts for later viewing and share them with a broader audience. We discussed Twitch's built-in VOD feature, automatically saving streams for up to 60 days, allowing viewers to catch up on missed content. We also covered third-party tools like Aqua Demo, OBS Studio, VLC Media Player, and Bandicam, each offering unique features for high-quality recording. Whether you use Twitch's built-in option or external software, recording your streams helps grow your channel, engage viewers, and create lasting content. You can effectively capture and share your Twitch streams by choosing the right tool and following best practices.


