On This Page
YouTube is considered one of the best platforms containing audio or music many listeners can stream. With its vast library of songs, many users capture audio from YouTube Mac to save their favorite music. One common reason is the desire to save a favorite song, podcast, or audio lecture for offline listening. Additionally, content creators may want to use YouTube audio to create remixes, cover songs, or background music for their videos. Educational purposes also drive the need to capture audio from YouTube, as students and researchers may want to cite or analyze audio content on the platform. Moreover, some individuals prefer to listen to audio content in a separate audio player or on their mobile devices, making it convenient to have YouTube audio saved as standalone files. For the reasons mentioned above, we created this article to teach you how to record music on YouTube on your Mac devices.
| Solution | Distinctive Feature | Advantage |
|---|---|---|
| Aqua Demo | It has a task scheduler that can record YouTube audio without toggling its buttons. | It is useful for users who want to perform extensive recording processes. |
| Mac Built-in Recording Tool | It is free and no installation is needed for Mac devices | You can preview the audio in its media player |
| Audacity | Free to install for Mac devices and users are allowed to modify it. | It comes with audio editor function. |
| Chrome Audio Recorder | It is free to use and no installation needed | Easy access on web browser |
| VLC Media Player | It is a universal media player which can preview recorded file in its system | It can save sounds from other sources like microphone and webcam |
Aqua Demo
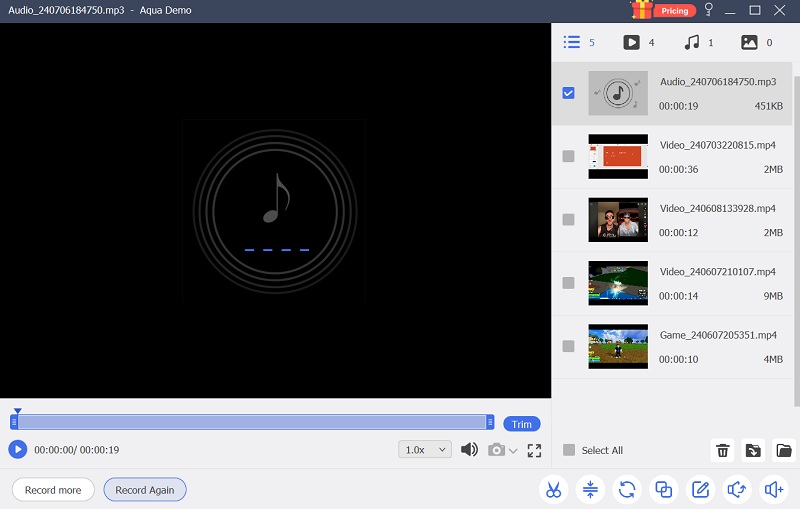
Aqua Demo is a reliable recording tool that enables users to record YouTube audio on Mac and provide better audio quality output. It comes with a different setup to record your screen activity, but for this article, our main focus is its Audio Recorder setup. With this mode, you can record internal audio on Mac, and even microphone audio, or both simultaneously. If you are hesitant to record your YouTube songs, you can always use its test function and modify different recording parameters. What makes this tool relevant to use as a recording tool is its ability to record predetermined times. This means that you just set up a specific time, and the tool will automatically record the audio source on your Mac devices. Follow the guidelines below and ensure you learn the steps mentioned.
Step 1. Get Aqua Demo
The initial method to capture audio from YouTube Mac is to download Aqua Demo on your device. You can download or save the file by clicking the download button present above. Then, go to your download folder and run the file to install it.
Step 2. Launch the App
Once the app is installed, launch its main interface and go to the drop-down menu at the upper left part of the tool to access the Audio Recorder. You can hit Settings and check different parameters like recording, output, mouse, and hotkey settings. Also, you can modify the default style of the recording panel.
Step 3. Access YouTube Songs
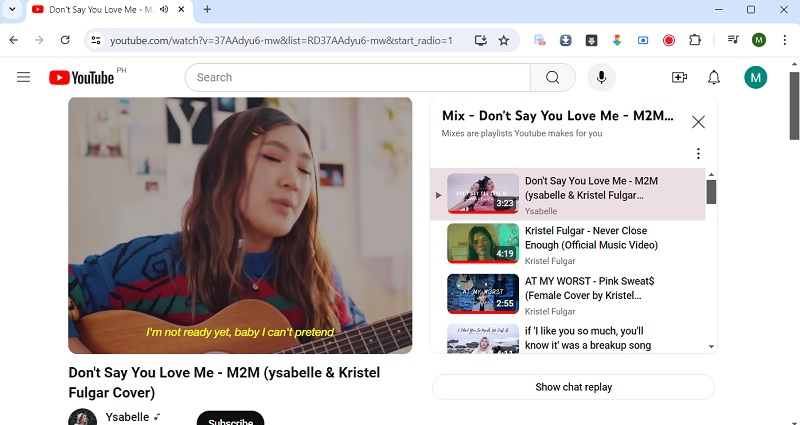
Next, accessing YouTube on your Mac is a breeze. Simply open your web browser and navigate to the platform. Once there, use the search bar to find the YouTube songs you want to record. Select the music, let it stream on your device, and you're ready to record.
Step 4. Record Audio from YouTube Mac
Finally, recording the audio from YouTube on your Mac is a straightforward process. Return to Aqua Demo, hit the REC button, and the tool will start recording. Once the YouTube stream ends, hit the End button to save the recorded music. You can then easily preview the file within the built-in media player. It's that simple.
Mac Built-in Recording Tool
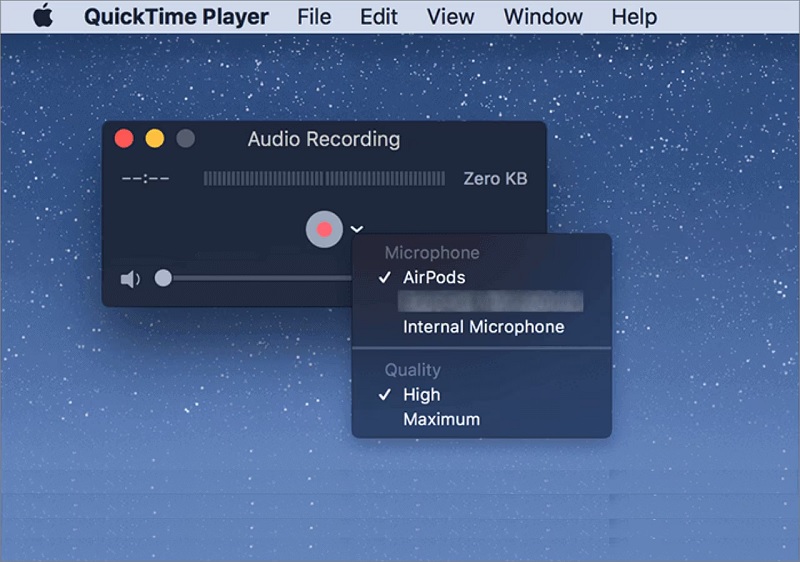
The Mac built-in recording tool, QuickTime Player, is a universal application that delivers a range of features for capturing audio and video. With QuickTime Player, you can effortlessly record YouTube audio on Mac, including individual windows or your entire desktop, making it favorable for creating tutorials or capturing gameplay. The tool also allows you to record audio using the built-in microphone or an external source, enabling you to create podcasts, voiceovers, or music recordings. Additionally, QuickTime Player supports basic editing functions, such as trimming and splitting recordings, and provides options for exporting your captured media in various formats.
- To record YouTube using QuickTime, open QuickTime on your Mac, go to File, and go to New Screen Recording. Click the indicator next to the record button and select the microphone you want to use for audio recording. Then, open the YouTube video you want to record and adjust the recording area to fit the video using the cursor.
- Click the Record button, play the YouTube video, and when finished, click the Stop button in the menu bar. Then, choose File, click Save, and select a destination to save the recording.
- Lastly, preview the File and check the quality of the recorded file. Keep in mind that you should only record YouTube content that you have the right to record for personal use or with permission.
Audacity
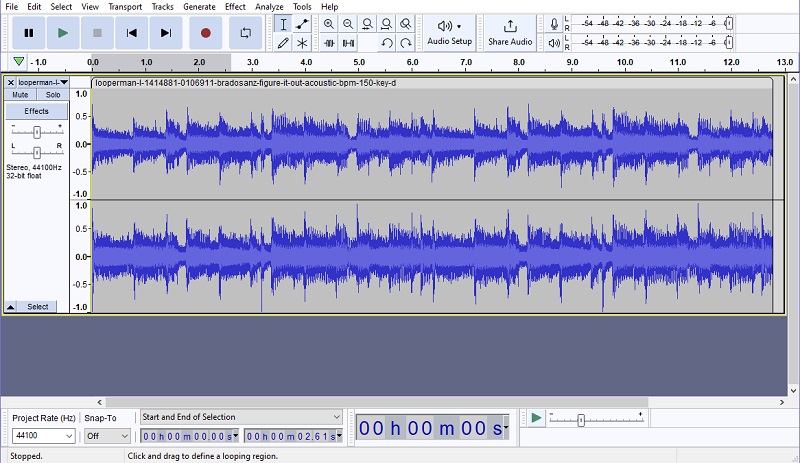
Audacity is an open-source audio recording software with many features. It supports multiple tracks and allows for easy editing, mixing, and applying various effects to recordings. Audacity offers noise reduction, pitch correction, and audio restoration tools, making it a versatile platform for beginners and advanced users. It supports a variety of file containers and formats and includes features such as multi-level undo, precise waveform editing, and customizable spectrogram mode. Additionally, Audacity provides extensive support for third-party plugins, expanding its functionality even further. With its user-friendly facade and comprehensive features, Audacity has become a popular choice for podcasters, musicians, and audio professionals.
- Begin recording YouTube audio with an Audacity Mac by downloading the tool to your device. Install the app and run its interface to navigate its processes and features.
- The next step is to download Soundflower, as MacOs do not have a desktop audio recorder built into their system. Once it is set up, go to the YouTube website and search for your favorite music video.
- Lastly, hit the Recording button on Audacity to capture the entire system sound, including the YouTube audio. Continue to stream and record the music and end it when the song has concluded. Afterward, preview the file, and you can edit it with Audacity.
Chrome Audio Recorder
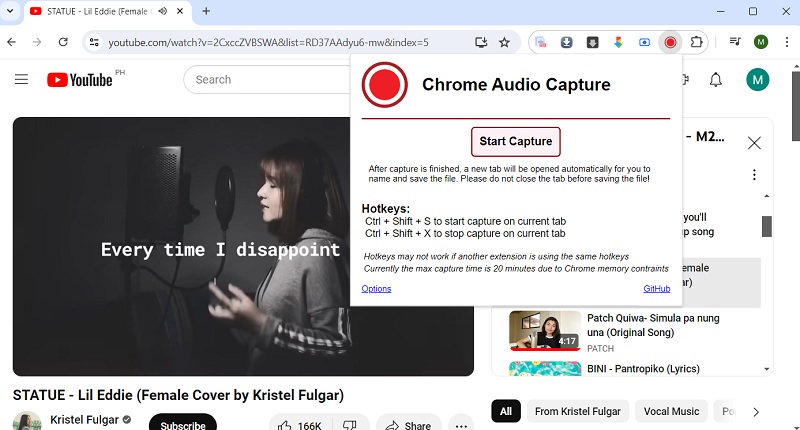
Chrome Audio Capture is a Chrome attachment tool or extension that allows users to capture audio playing on the current tab. It provides the ability to capture audio from the tab or system audio. The extension supports various audio formats, such as MP3 and WAV, and offers customizable options for adjusting the audio quality and bitrate. Chrome Audio Capture is user-friendly, with a simple interface that permits users to easily start and stop audio capture. Additionally, it enables users to download the captured audio files for offline use, making it a convenient tool for capturing audio from websites, online music, or any other audio playing in the Chrome browser.
- Begin recording audio from YouTube on your Mac device by installing Chrome Audio Recorder on your device. Go to the Chrome Extension Store and search for the app. Then, hit the Add to Chrome to save the tool.
- Once installed, pin the tool on your web extension panel. You will be able to see its red icon on your web browser. After that, go to the YouTube website to access or stream your desired audio file.
- Lastly, once the song is streaming on YouTube, click the icon of the web extension and hit Start Capture to record the entire song. Then, click the End button to save the recorded file. Preview it on your device to check the quality of the recordings.
VLC Media Player
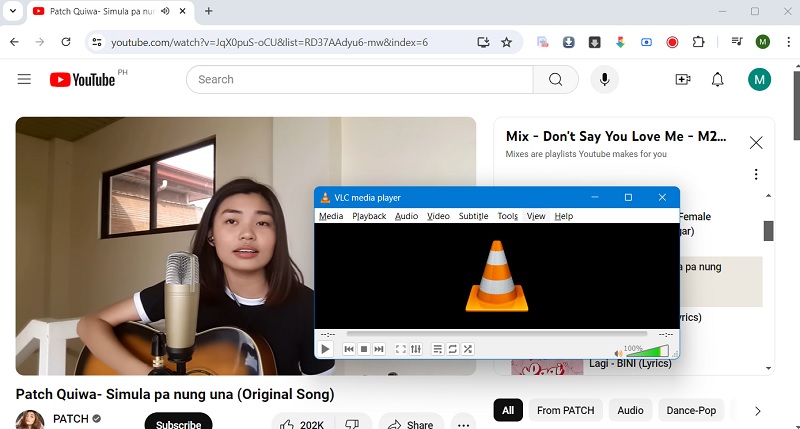
VLC media player includes a built-in recording feature that allows users to capture video and audio from their computer screens. This feature is useful and helpful for creating tutorials, capturing live streams, or recording gameplay. Users can easily start and stop the recording process with just a few clicks. The built-in recording feature supports a wide range of formats, making it versatile and applicable to various needs. It also offers options for adjusting video and audio settings. Additionally, VLC's recording feature provides a convenient way to capture specific segments of an audio file, which can also be handy if you want to record SoundCloud audio or YouTube audio directly.
- To access the VLC media player's recording feature, open the player on your computer. Then, navigate to the 'View' menu and select 'Advanced Controls.' This will enable the advanced controls within the player, including the record button.
- Once the advanced controls are enabled, you will notice additional buttons in the player interface, including the record button. Now, navigate to the YouTube video or any other audio source you want to record.
- When the audio you want to record plays, click the red Record button in the player controls to start the recording. You will see the recording's elapsed time displayed in the player interface. To stop the recording, simply click the Record button again. The recorded audio YouTube will be saved to your default directory with a file name based on the date and time of the recording.
Conclusion
Recording audio from YouTube on a Mac can be done using various methods such as Aqua Demo, QuickTime Player, and Audacity. Aqua Demo provides high-quality audio output and allows users to record YouTube audio at predetermined times. QuickTime Player, a built-in tool in Mac, supports capturing audio and video while also providing basic editing functions. Audacity, an open-source software, offers advanced features like multiple-track support and easy editing. It is essential to ensure that you have the right to record YouTube content for personal use or with permission.


